Buinsa Temple – 부인사 (Dong-gu, Daegu)
Temple History
Buinsa Temple, which was first constructed during the 7th century, is located on the southern part of the famous Mt. Palgongsan (1,192.3m) in northern Daegu. The name of the temple is an honourific reference to a woman, which simply means “Ma’am” or “Madam,” in English. So the name of the temple means “Ma’am/Madam Temple,” in English. The reason that it’s called this is it’s in reference to Queen Seondeok (r.632-647 A.D.). In fact, the temple was built to pray for the overall health and welfare of Queen Seondeok.
Queen Seondeok was the first reigning queen of the Silla Dynasty (57 B.C. – 935 A.D.). She encouraged the arts, literature, and the growth of Buddhism. During her reign, she oversaw the building of Cheomseongdae, Hwangnyongsa Temple in Gyeongju, and such historic and famous temples as Bunhwangsa Temple, Tongdosa Temple, Woljeongsa Temple, and Magoksa Temple were all built during her fifteen year reign. Also, during her reign, Queen Seondeok laid the first foundations for the unification of the Korean peninsula from a series of attacks and raids by the combined forces of the Baekje and Goguryeo Kingdoms on the Silla Kingdom. These attacks brought the Silla kingdom to a point of disaster. Queen Seondeok was able to convince the Tang Dynasty to form an alliance to combat the growing strength and influence of the Gorguyeo Dynasty. This would lead to the Goguryeo-Tang War, which took place from 645-668 A.D., and the eventual unification of the peninsula under Silla rule.
As for the history of the temple itself, Buinsa Temple played a crucial role in the defence of the Goryeo Dynasty (918-1392) from northern invaders. King Hyeonjong of Goryeo (r.1009-1031) ordered the completion of the complete set of wooden blocks known as the Chojo Daejanggyeong (first edition of the famous Tripitaka Korean, which are Buddhist Scripture), which numbered six thousand volumes, to help protect the Goryeo lands. It was thought that the completion of the Chojo Daejanggyeong would invoke the help of Buddha to defend the Goryeo Kingdom. This original set of the Tripitaka was housed at Buinsa Temple. Tragically, this set was destroyed by the Khitan in 1232. Not only were the woodblocks destroyed, but all of Buinsa Temple was destroyed, as well. Later, between 1236-1251, the wooden blocks known as the Tripitaka Koreana were created and eventually housed at Haeinsa Temple in Hapcheon, Gyeongsangnam-do.
Later, monks from Buinsa Temple would rise up in revolt against the militaristic regime during the late Goryeo Dynasty. Buinsa Temple would be used as a staging ground and headquarters for this resistance against the Ubong Choe house (1196-1258). While the temple was eventually rebuilt after the Khitan invasion during the 13th century, Buinsa Temple was destroyed, once more, by fire by the invading Japanese during the Imjin War (1592-1598). Currently, most of the temple buildings and construction date back to the 1930’s after a fire tragically destroyed Buinsa Temple, for a third time, on June 28th, 1928. More recently, the main hall at Buinsa Temple was rebuilt in 1986 by the monk Yeon Seongta.
Temple Layout
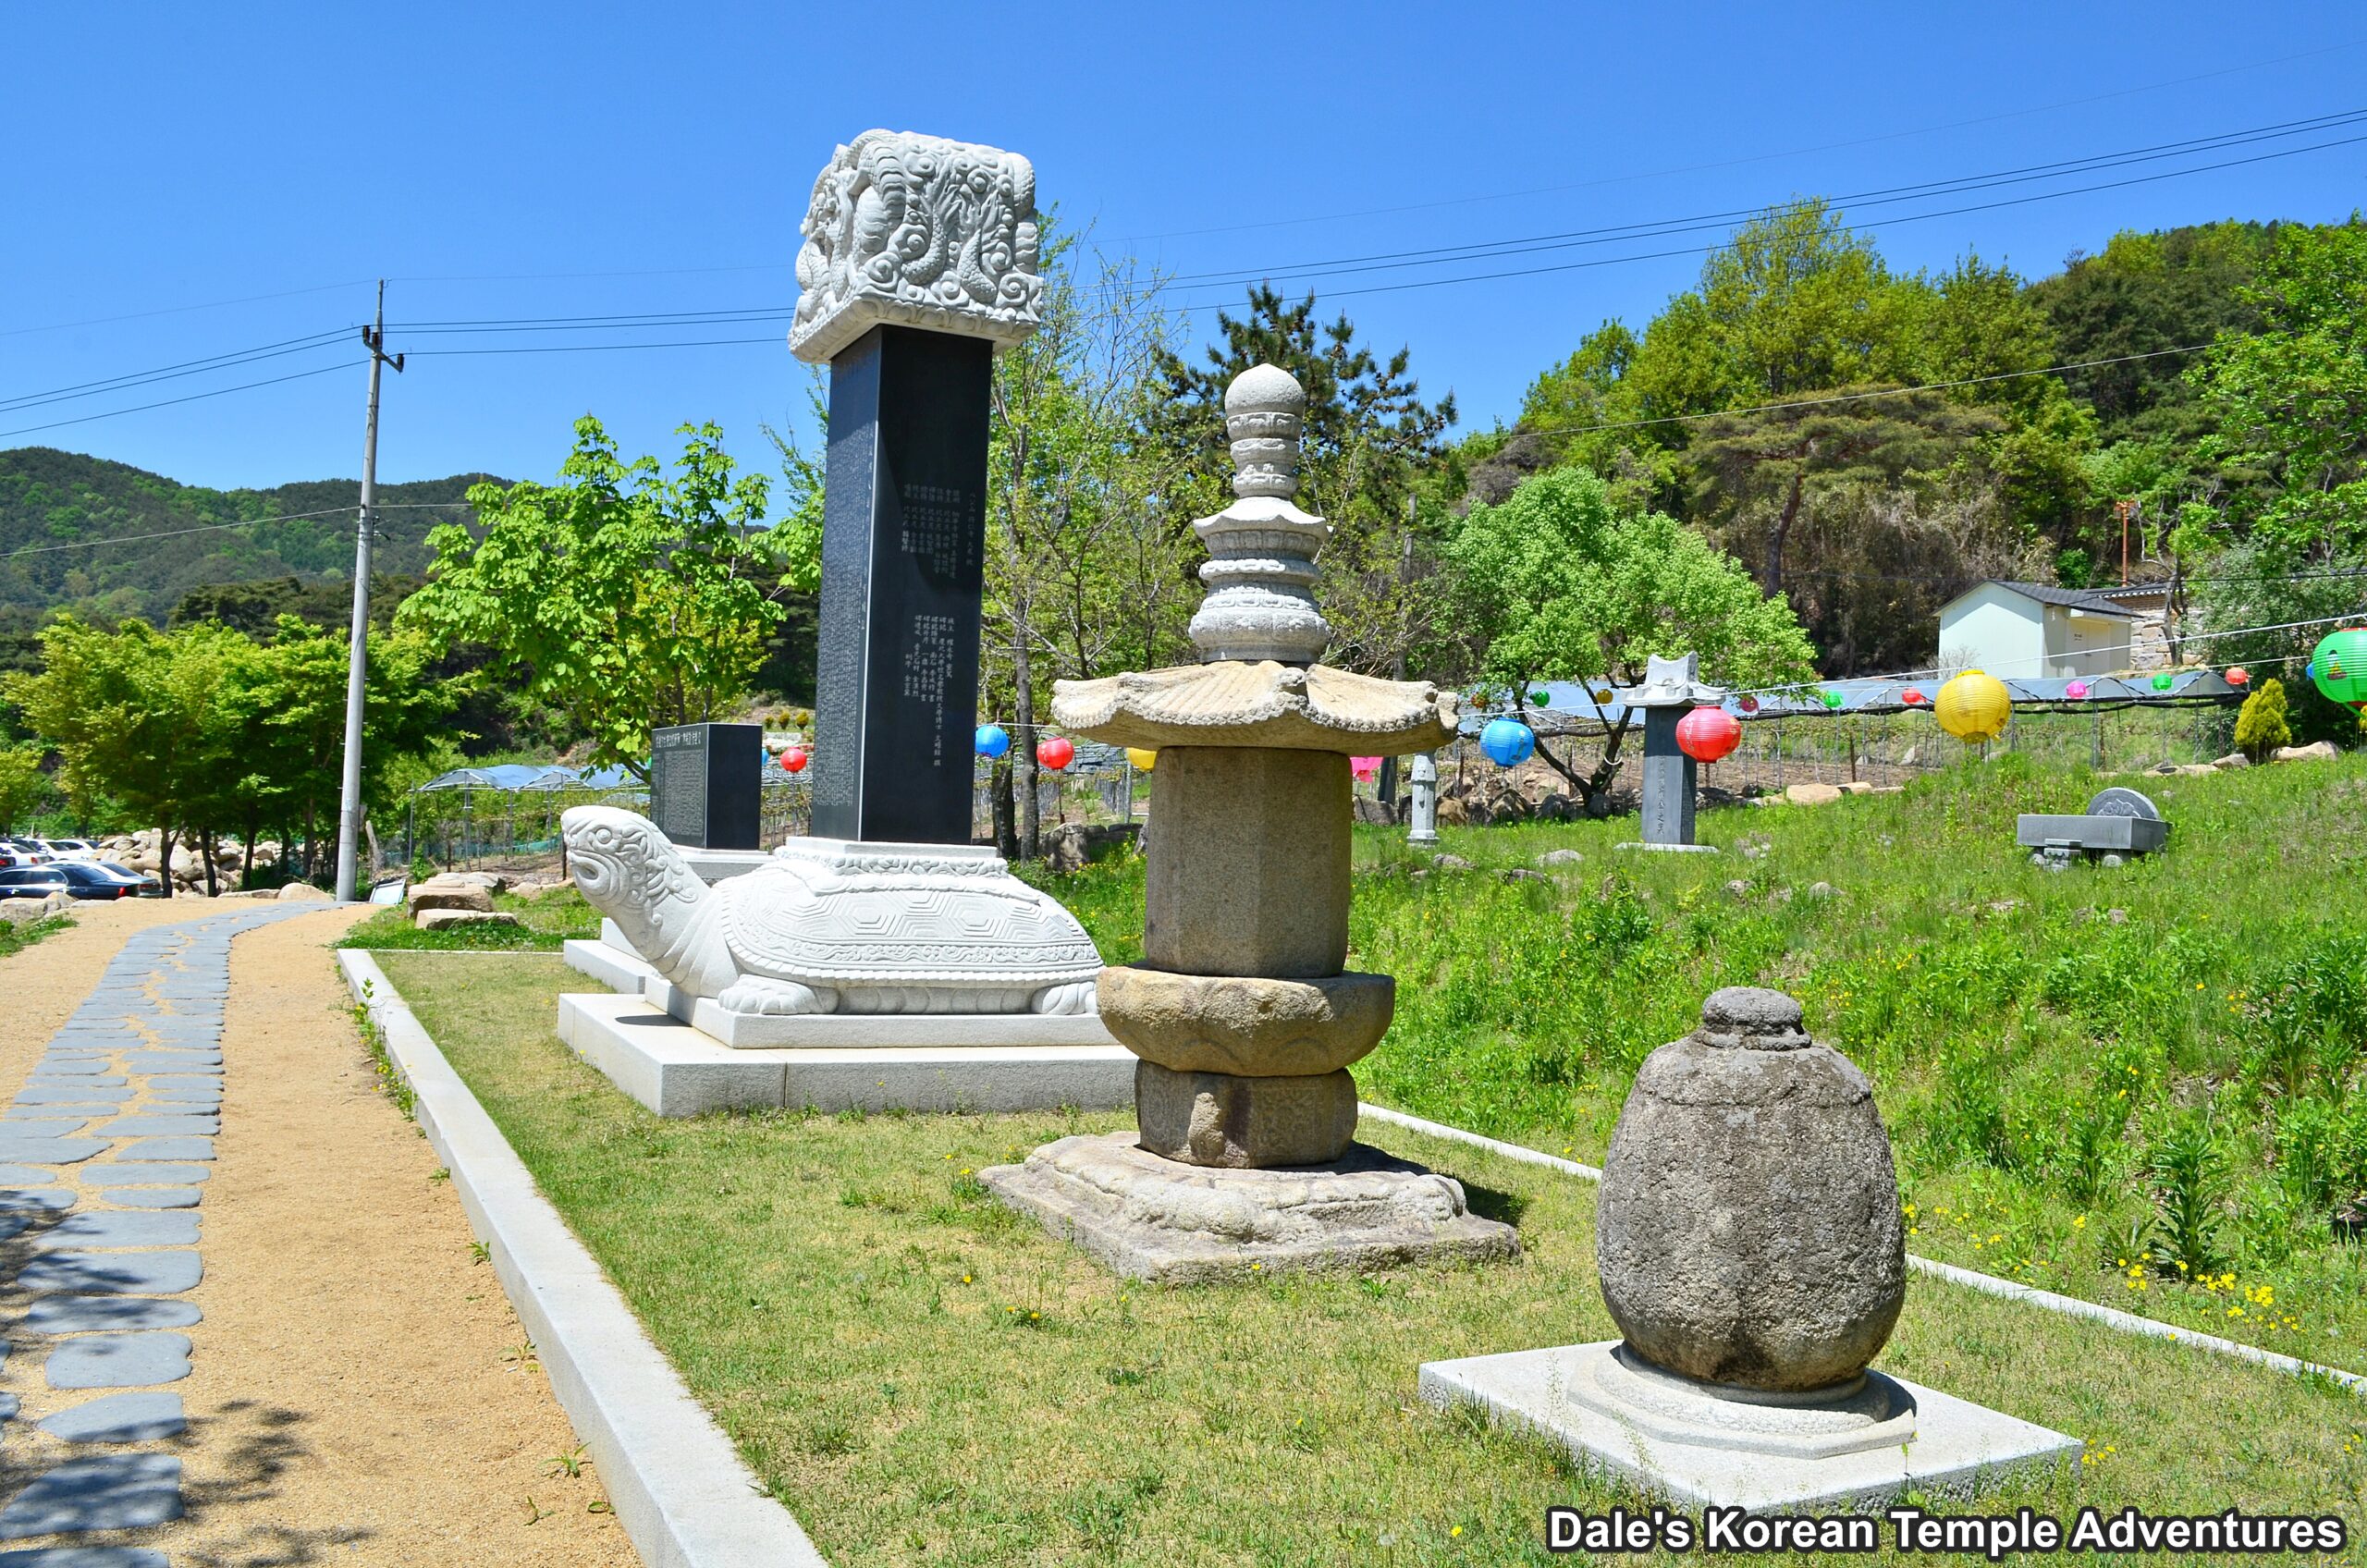
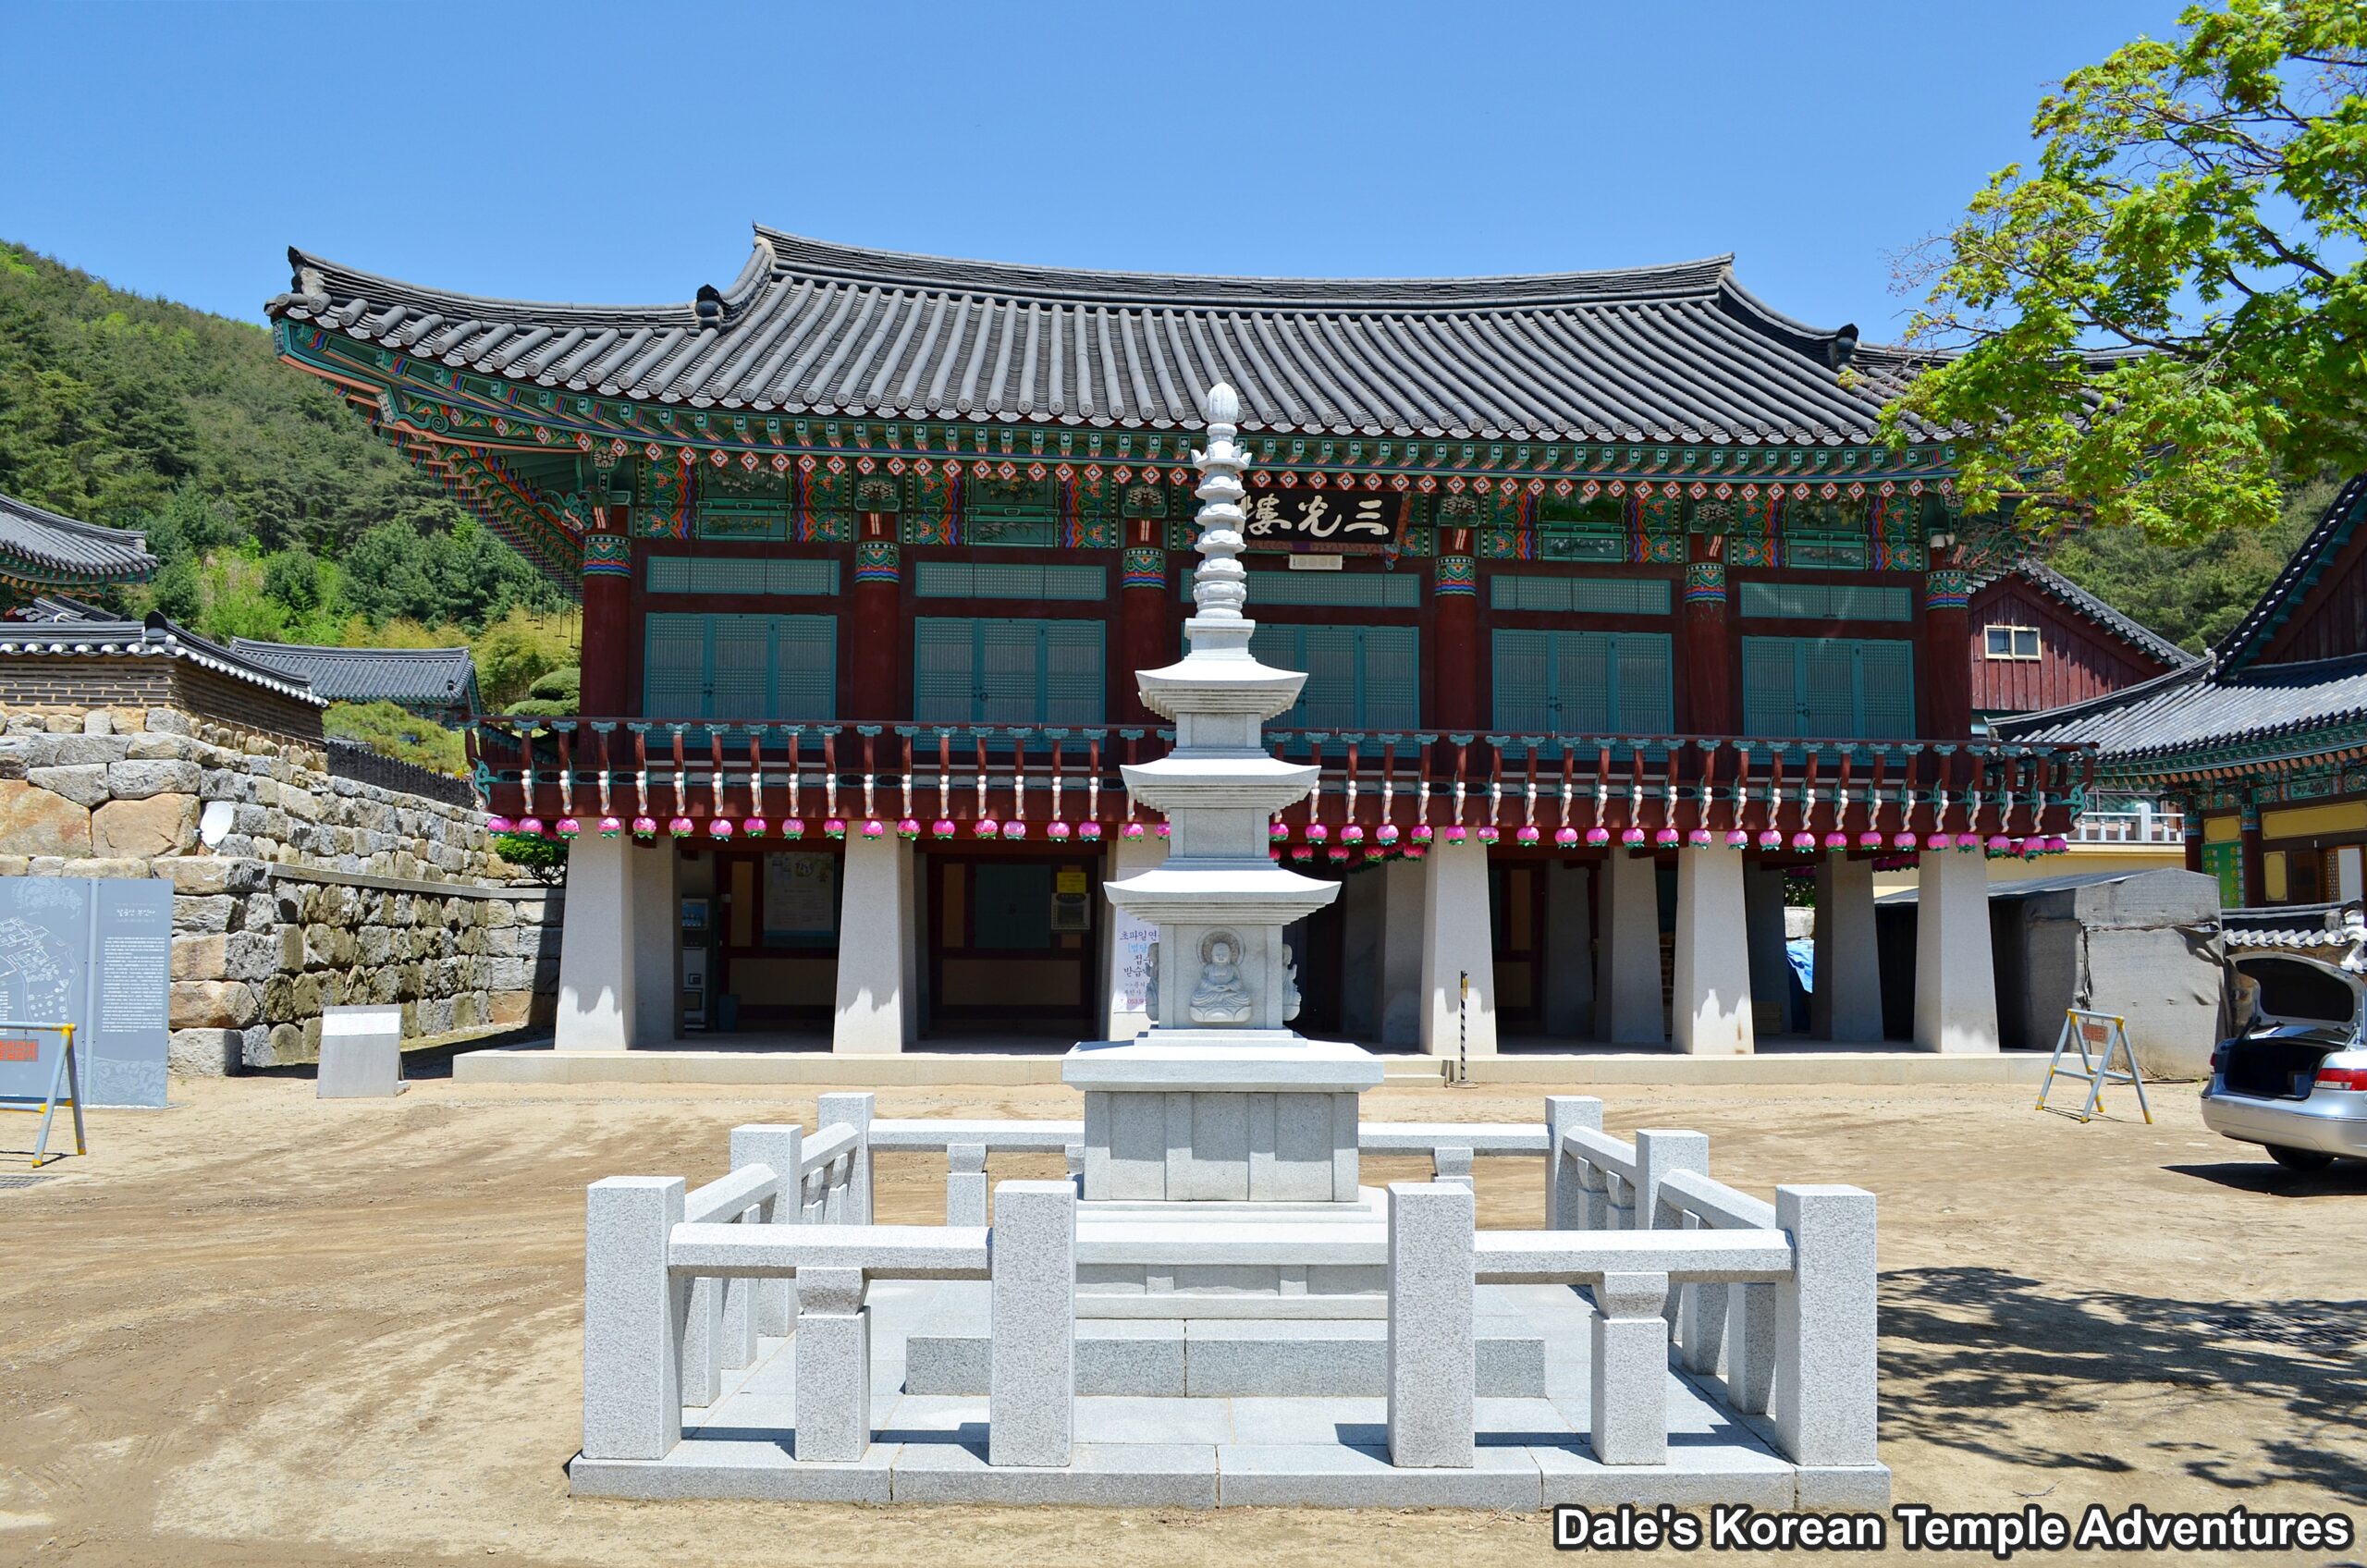
You first approach Buinsa Temple up a narrow road. The first things to greet you are a collection of stupas and stele out in front of a forest. This forest is where Buinsa Temple was originally and formerly located. If you walk to the right of this forest, and up an uneven set of stone stairs, you’ll see a collection of stone pieces that were once a part of the former temple buildings. You can also head to the left up the road, but then you’ll miss out on all these historical treasures, as well as a twin pair of pagodas. In front of these pagodas is Samgwang-ru Pavilion. You’ll need to pass underneath this pavilion to gain entry to the main temple grounds at Buinsa Temple.
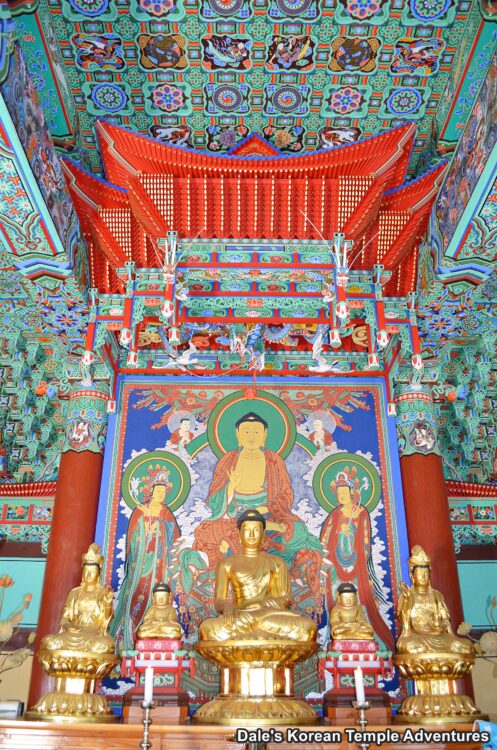
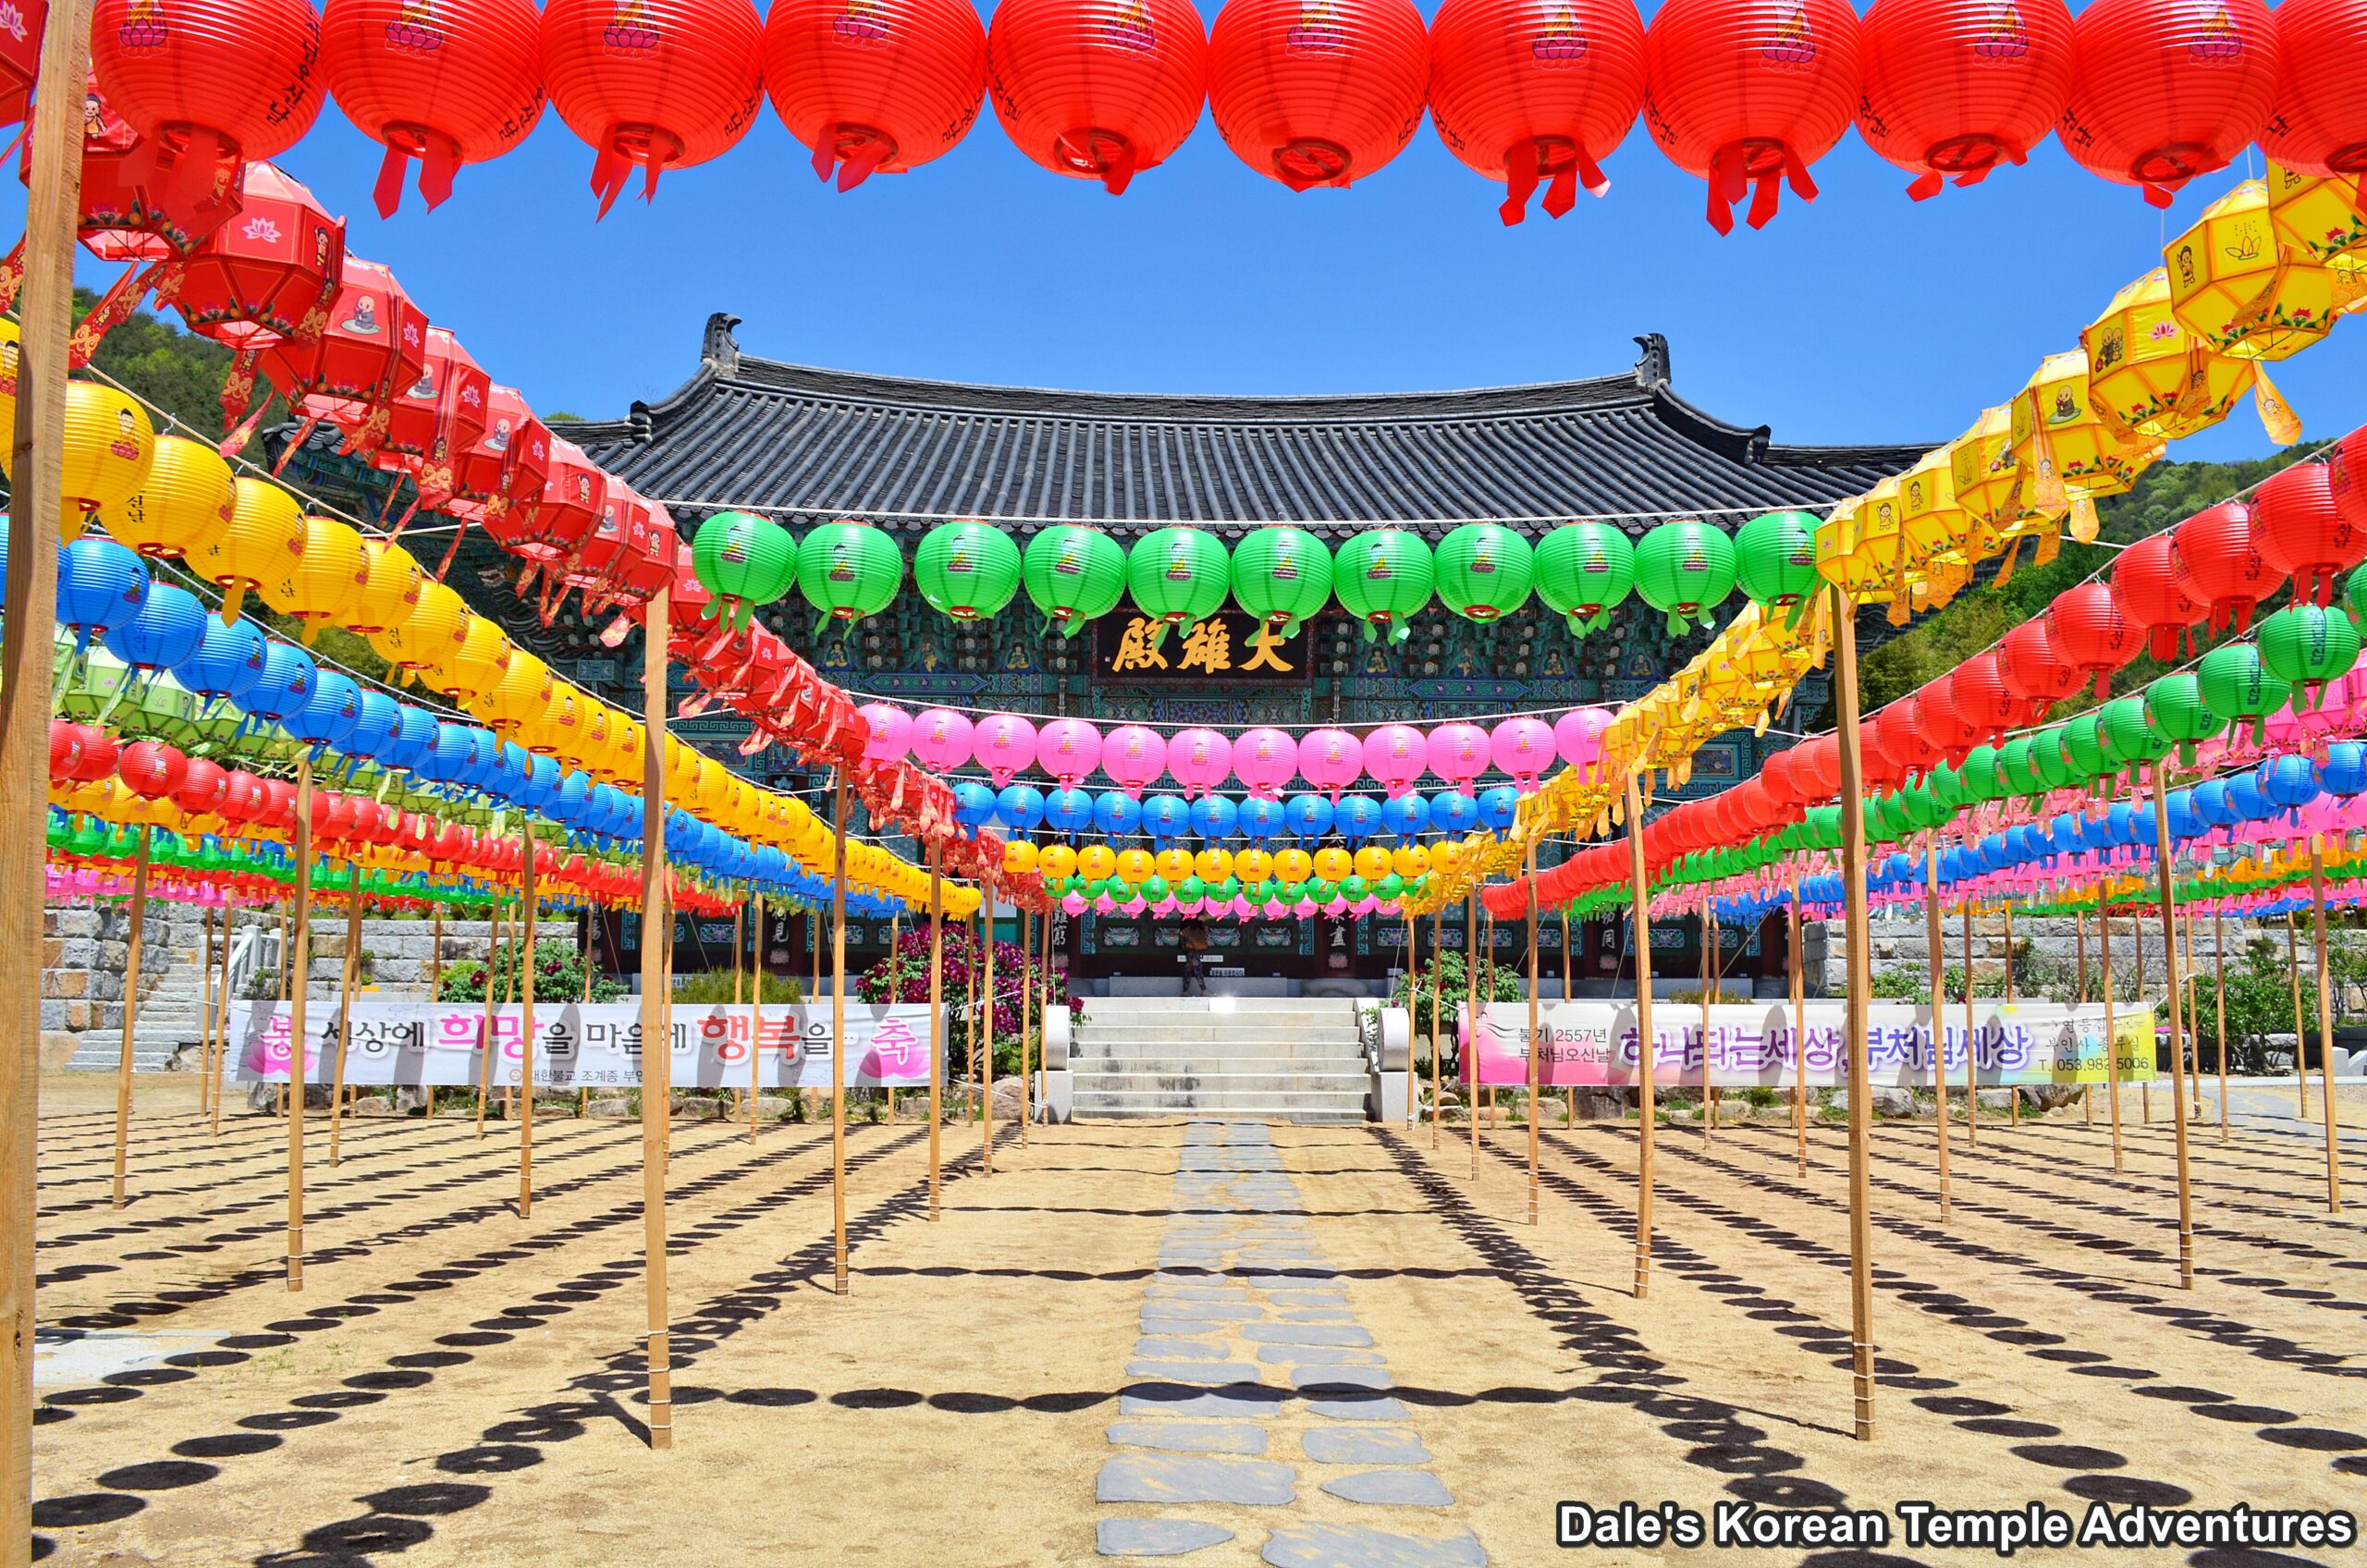
Straight ahead of you is the Daeung-jeon Hall. The main hall at Buinsa Temple, rather uniquely, is adorned with murals dedicated to the Nahan (The Historical Disciples of the Buddha) around the exterior walls. As for the interior, and resting on the main altar, there’s a triad of statues. In the centre sits Seokgamoni-bul (The Historical Buddha). This statue is joined on either side by Munsu-bosal (The Bodhisattva of Wisdom) and Bohyeon-bosal (The Bodhisattva of Power). All three sit under a beautiful red canopy, or “datjib,” in Korean. And on the far right wall, you’ll find the temple’s Shinjung Taenghwa (Guardian Mural).
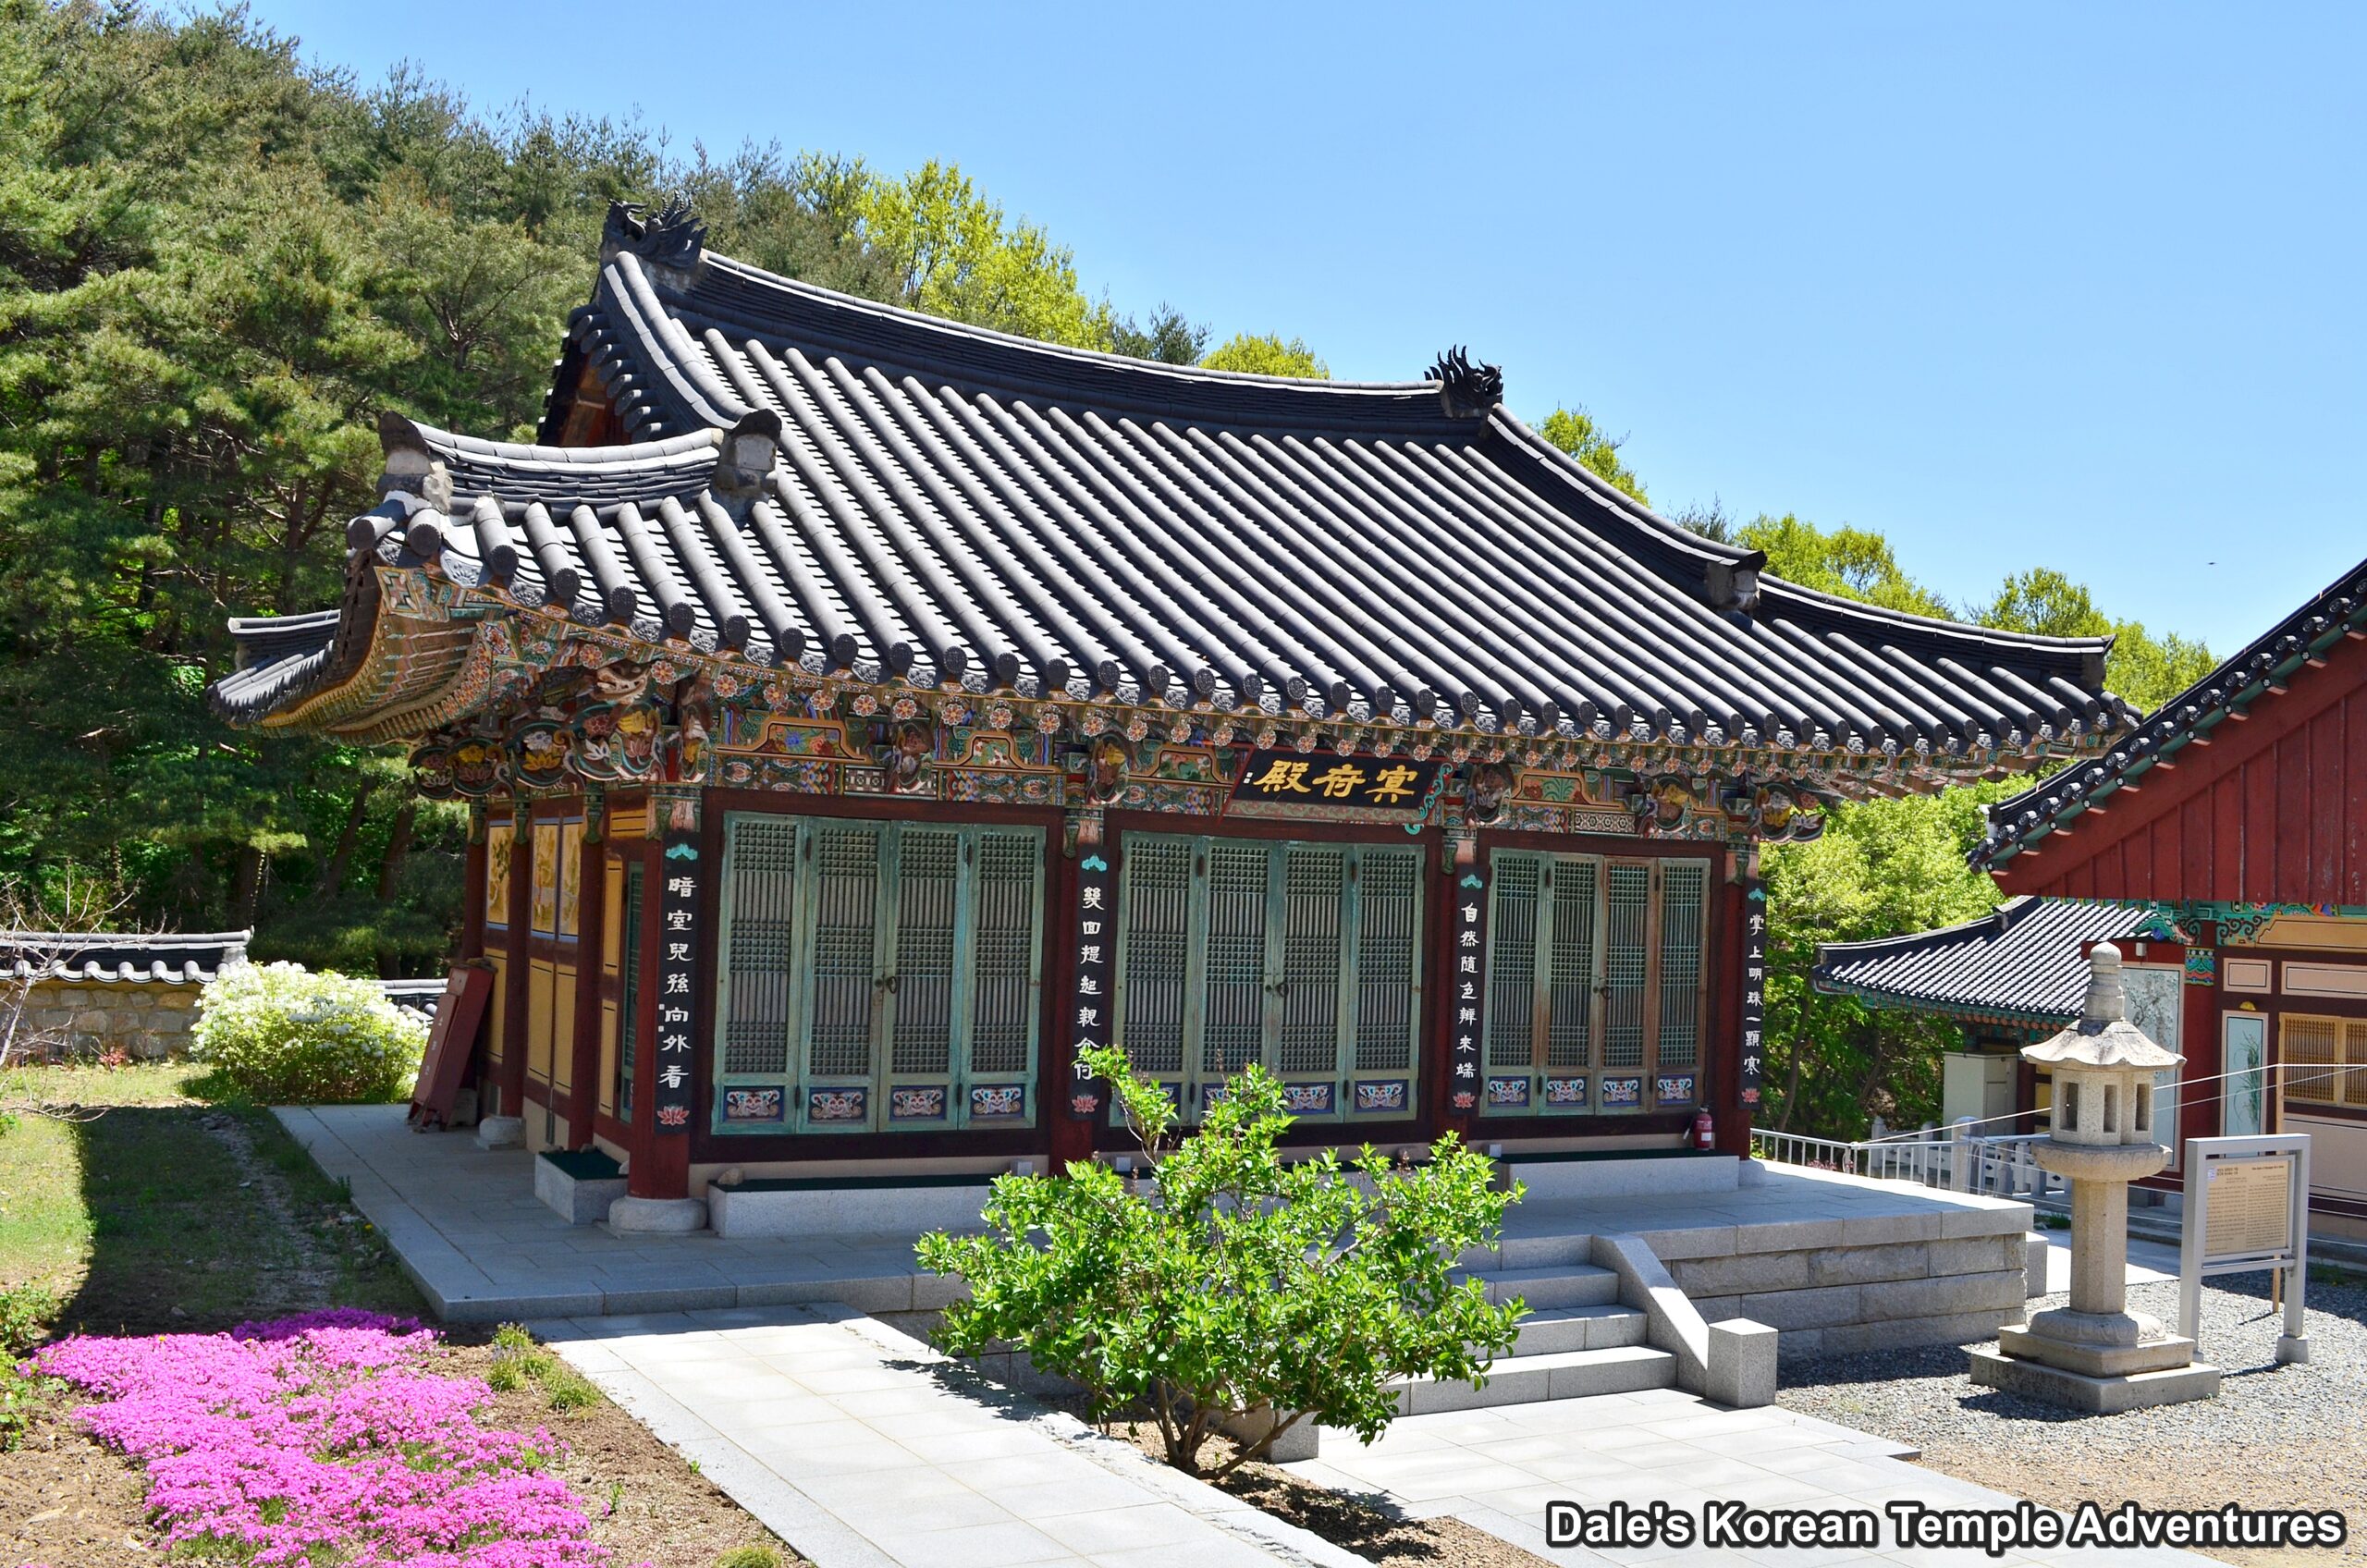
To the immediate right of the Daeung-jeon Hall is the Myeongbu-jeon Hall. In front of the Myeongbu-jeon Hall is a Seokdeung, or “stone lantern,” in English. Typically, these stone lanterns are single chambered; however, the one at Buinsa Temple is double chambered. It’s believed that this stone lantern dates back to the early part of the Goryeo Dynasty. As for the Myeongbu-jeon Hall, and sitting on the main altar, is a bronze coloured Jijang-bosal (The Bodhisattva of the Afterlife) statue. The statue of Jijang-bosal is joined on either side by the Ten Kings of the Underworld, or “Shiwang,” in Korean. Uniquely, the exterior walls to the Myeongbu-jeon Hall are adorned with the Shimu-do (Ox-Herding Mural) set.
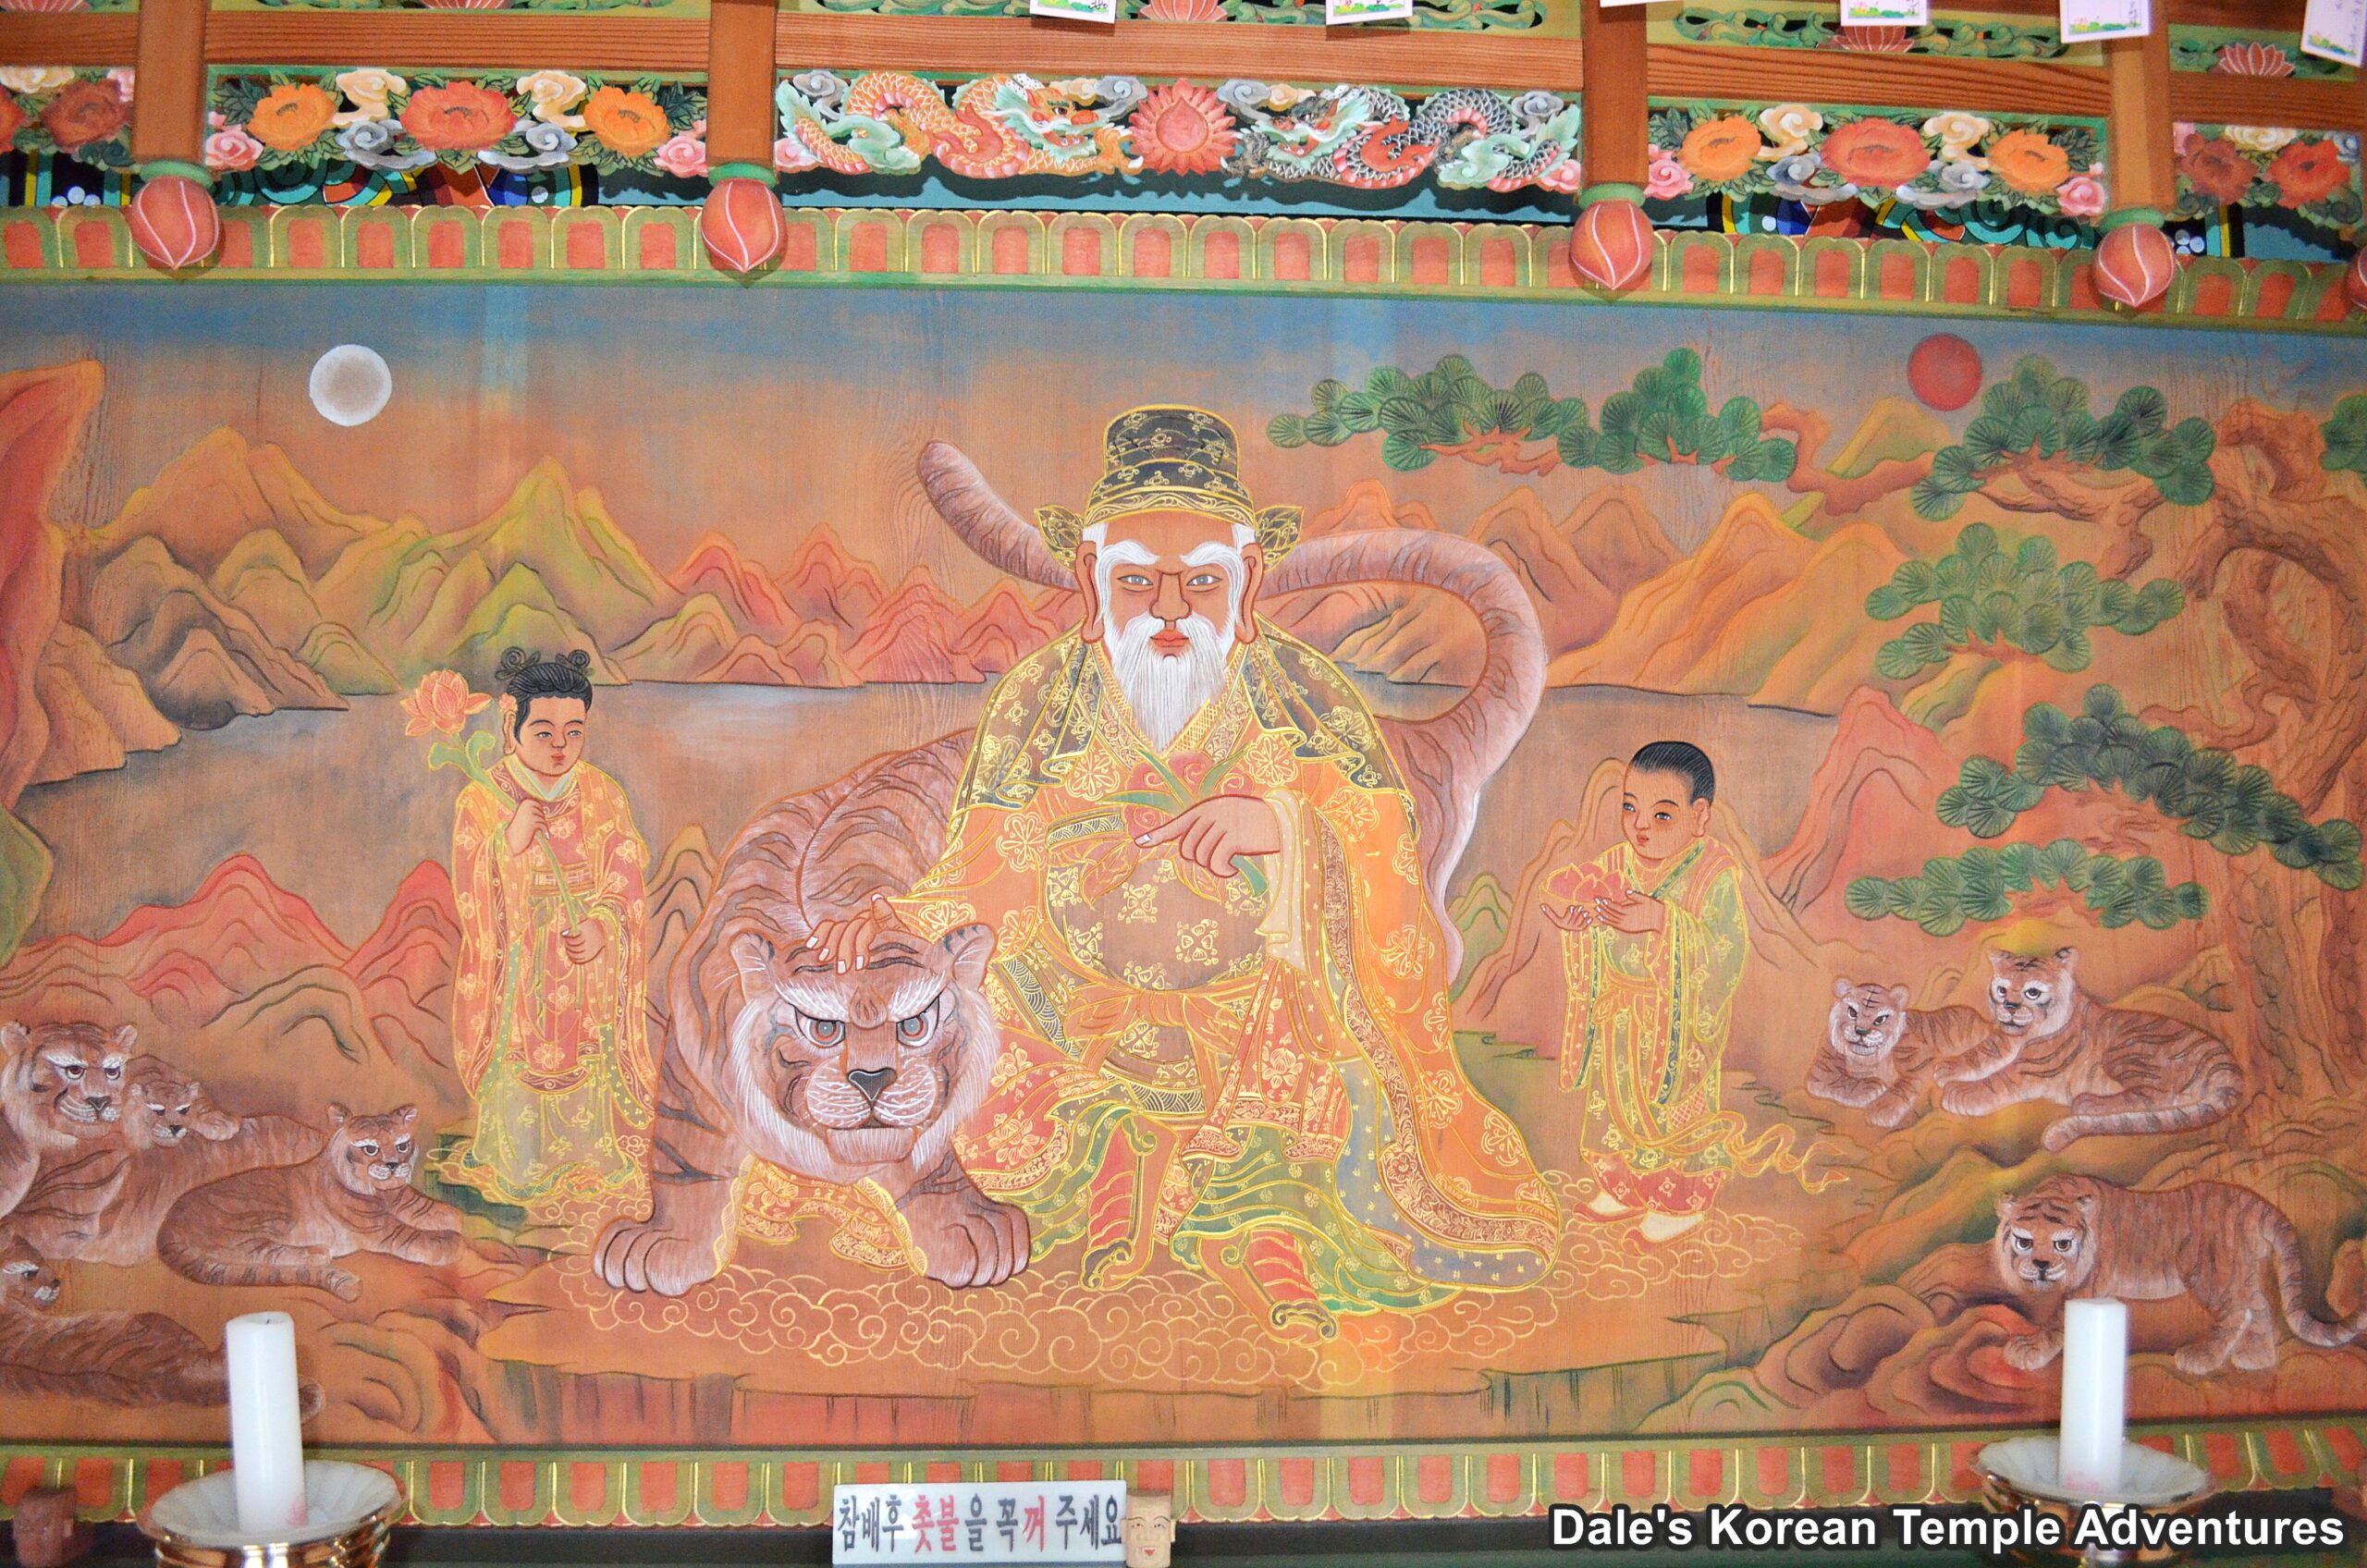
Between the Daeung-jeon Hall and the Myeongbu-jeon Hall, and to the rear, is the Sanshin-gak Hall. This newly built shaman shrine hall is adorned with a rather cool looking tiger on one of its exterior walls. As for the interior, and hanging on the main altar, is a beautiful mural dedicated to Sanshin (The Mountain Spirit). The adult tiger is joined by seven of its cubs in the mural. Interestingly, Sanshin sits under both the sun and the moon in the mural.
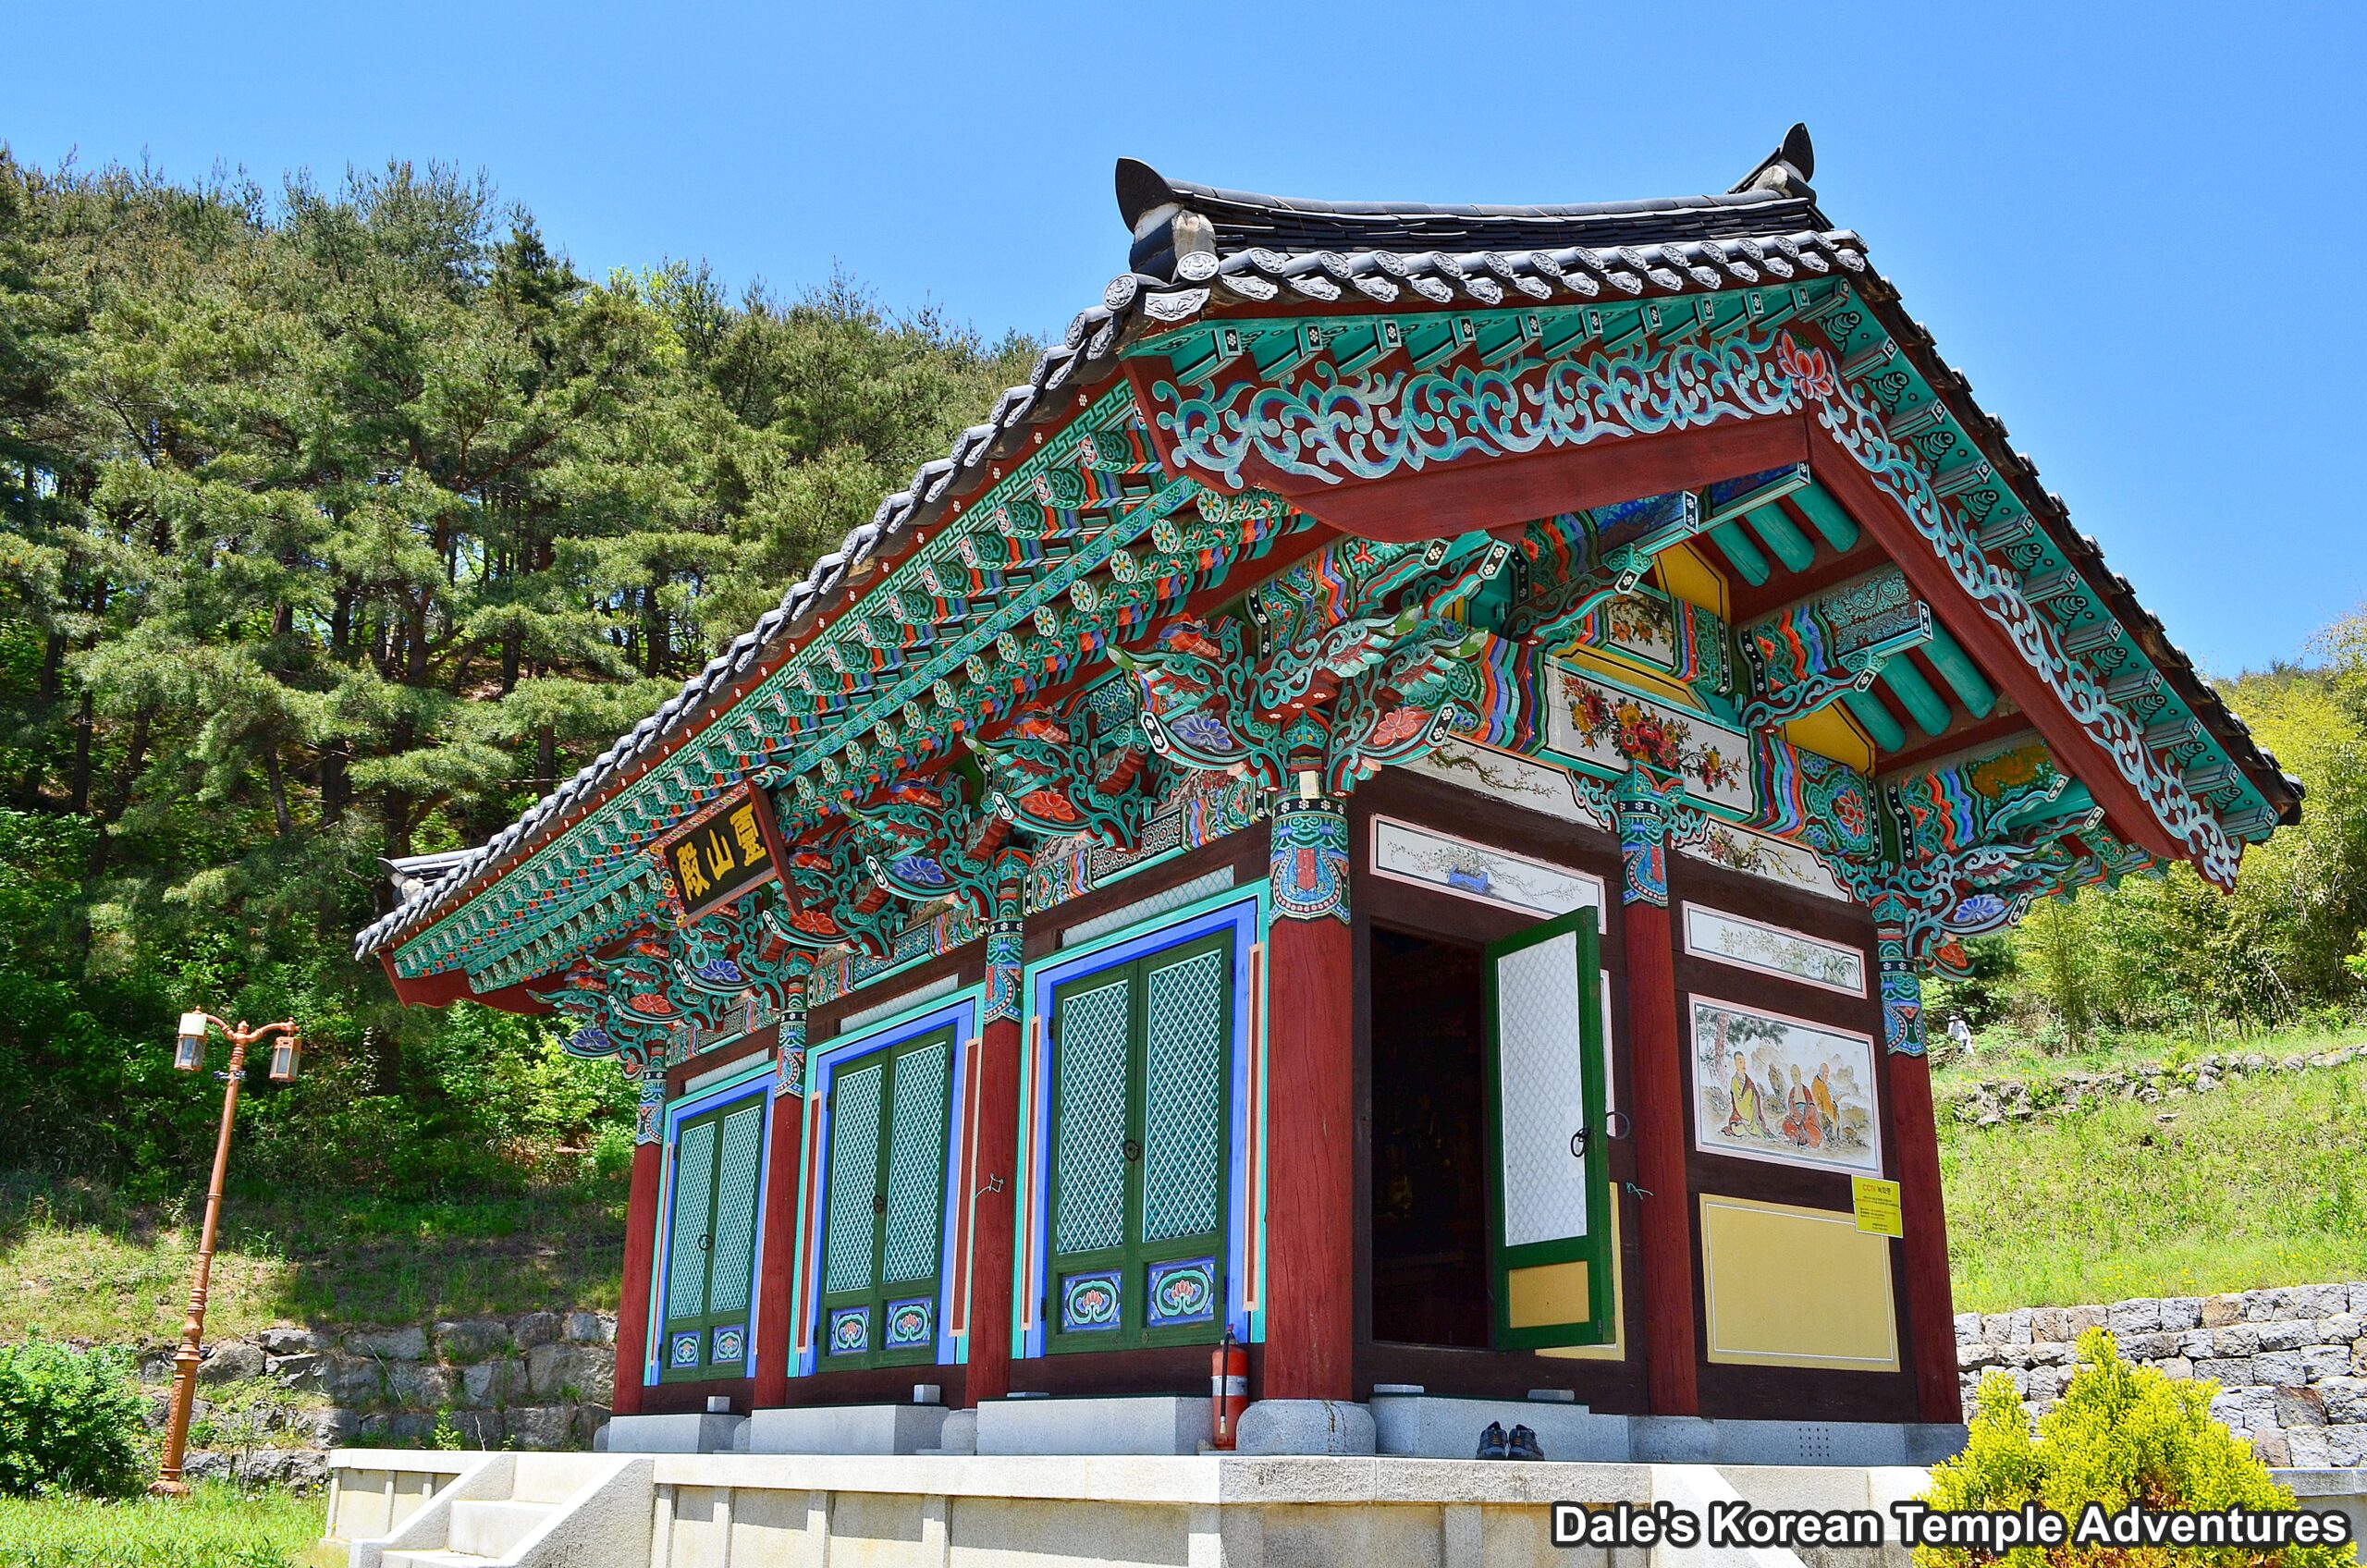
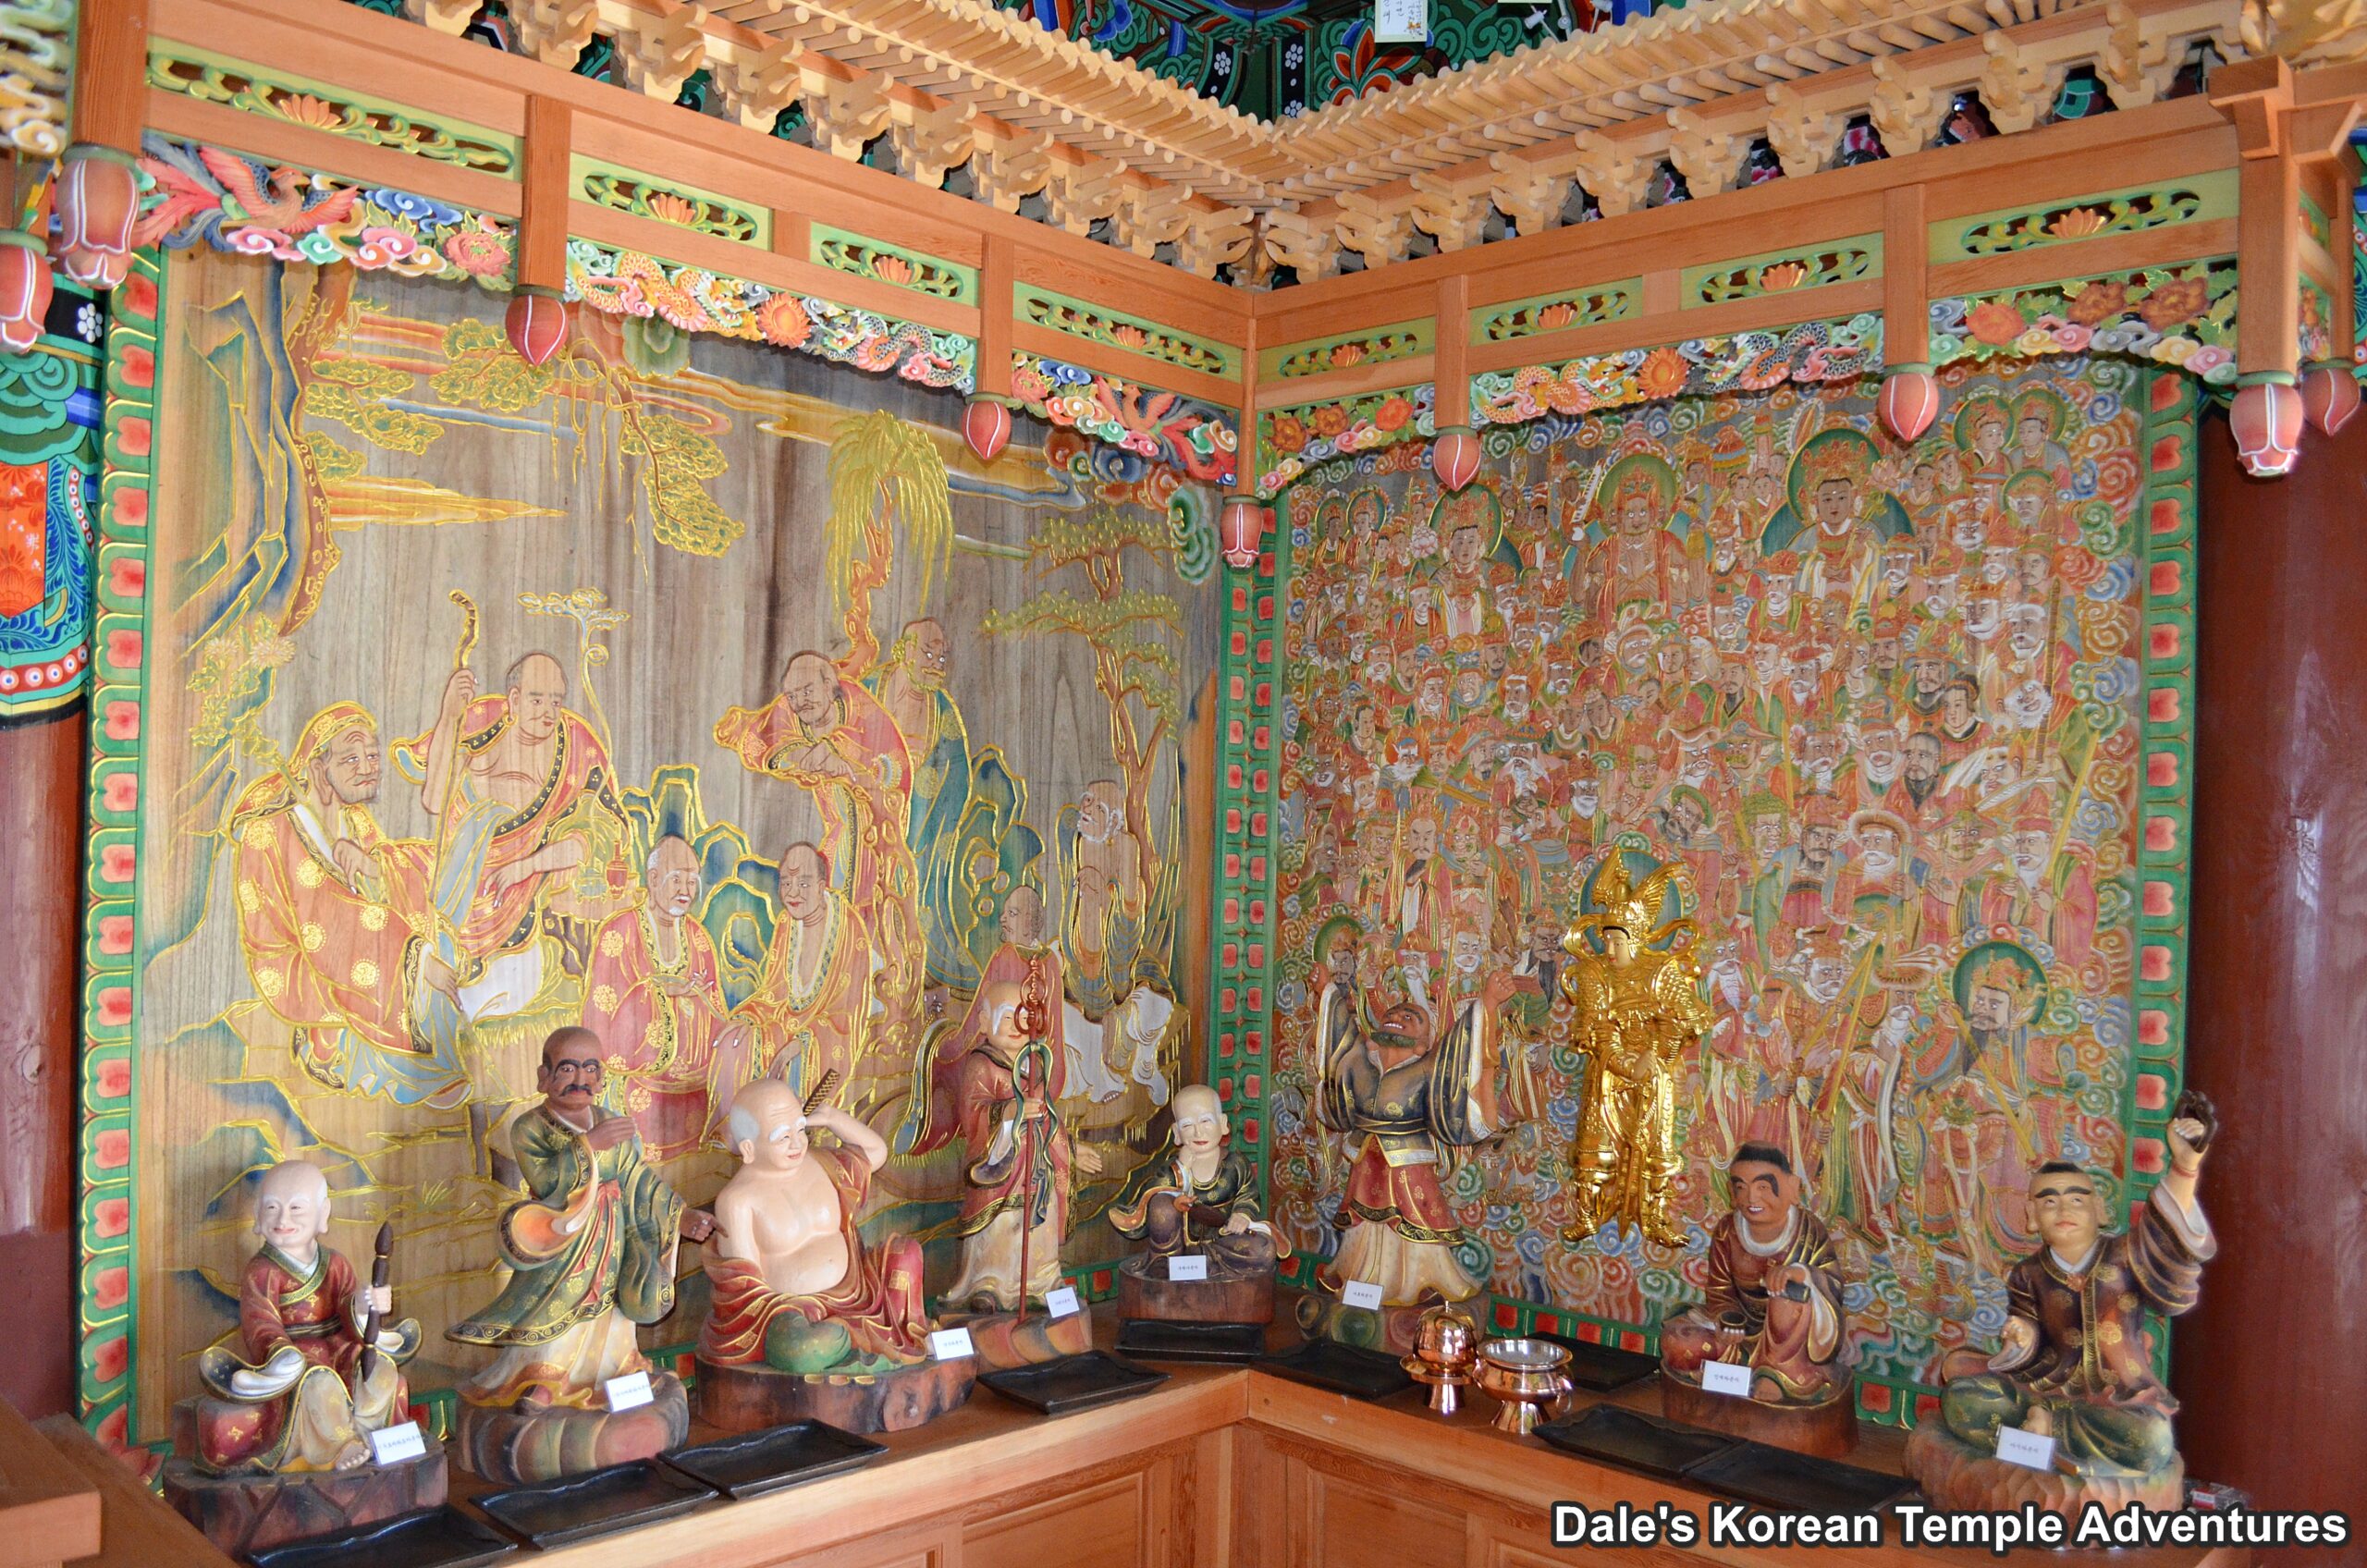
To the left of the Daeung-jeon Hall, but behind the monks’ quarters, is the Yeongsan-jeon Hall. Sitting on the main altar is a seated statue of Seokgamoni-bul. This statue is joined on the main altar by two standing statues. The statue on the left is dedicated to Bohyeon-bosal, and the statue on the right is dedicated to Munsu-bosal. Joining this well-populated triad on the main altar is a beautiful statue and painting dedicated to Dokseong (The Lonely Saint) and Chilseong (The Seven Stars) to the left. And these two shaman figures are joined, in turn, by sixteen statues dedicated to the Nahan and another Shinjung Taenghwa (Guardian Mural).
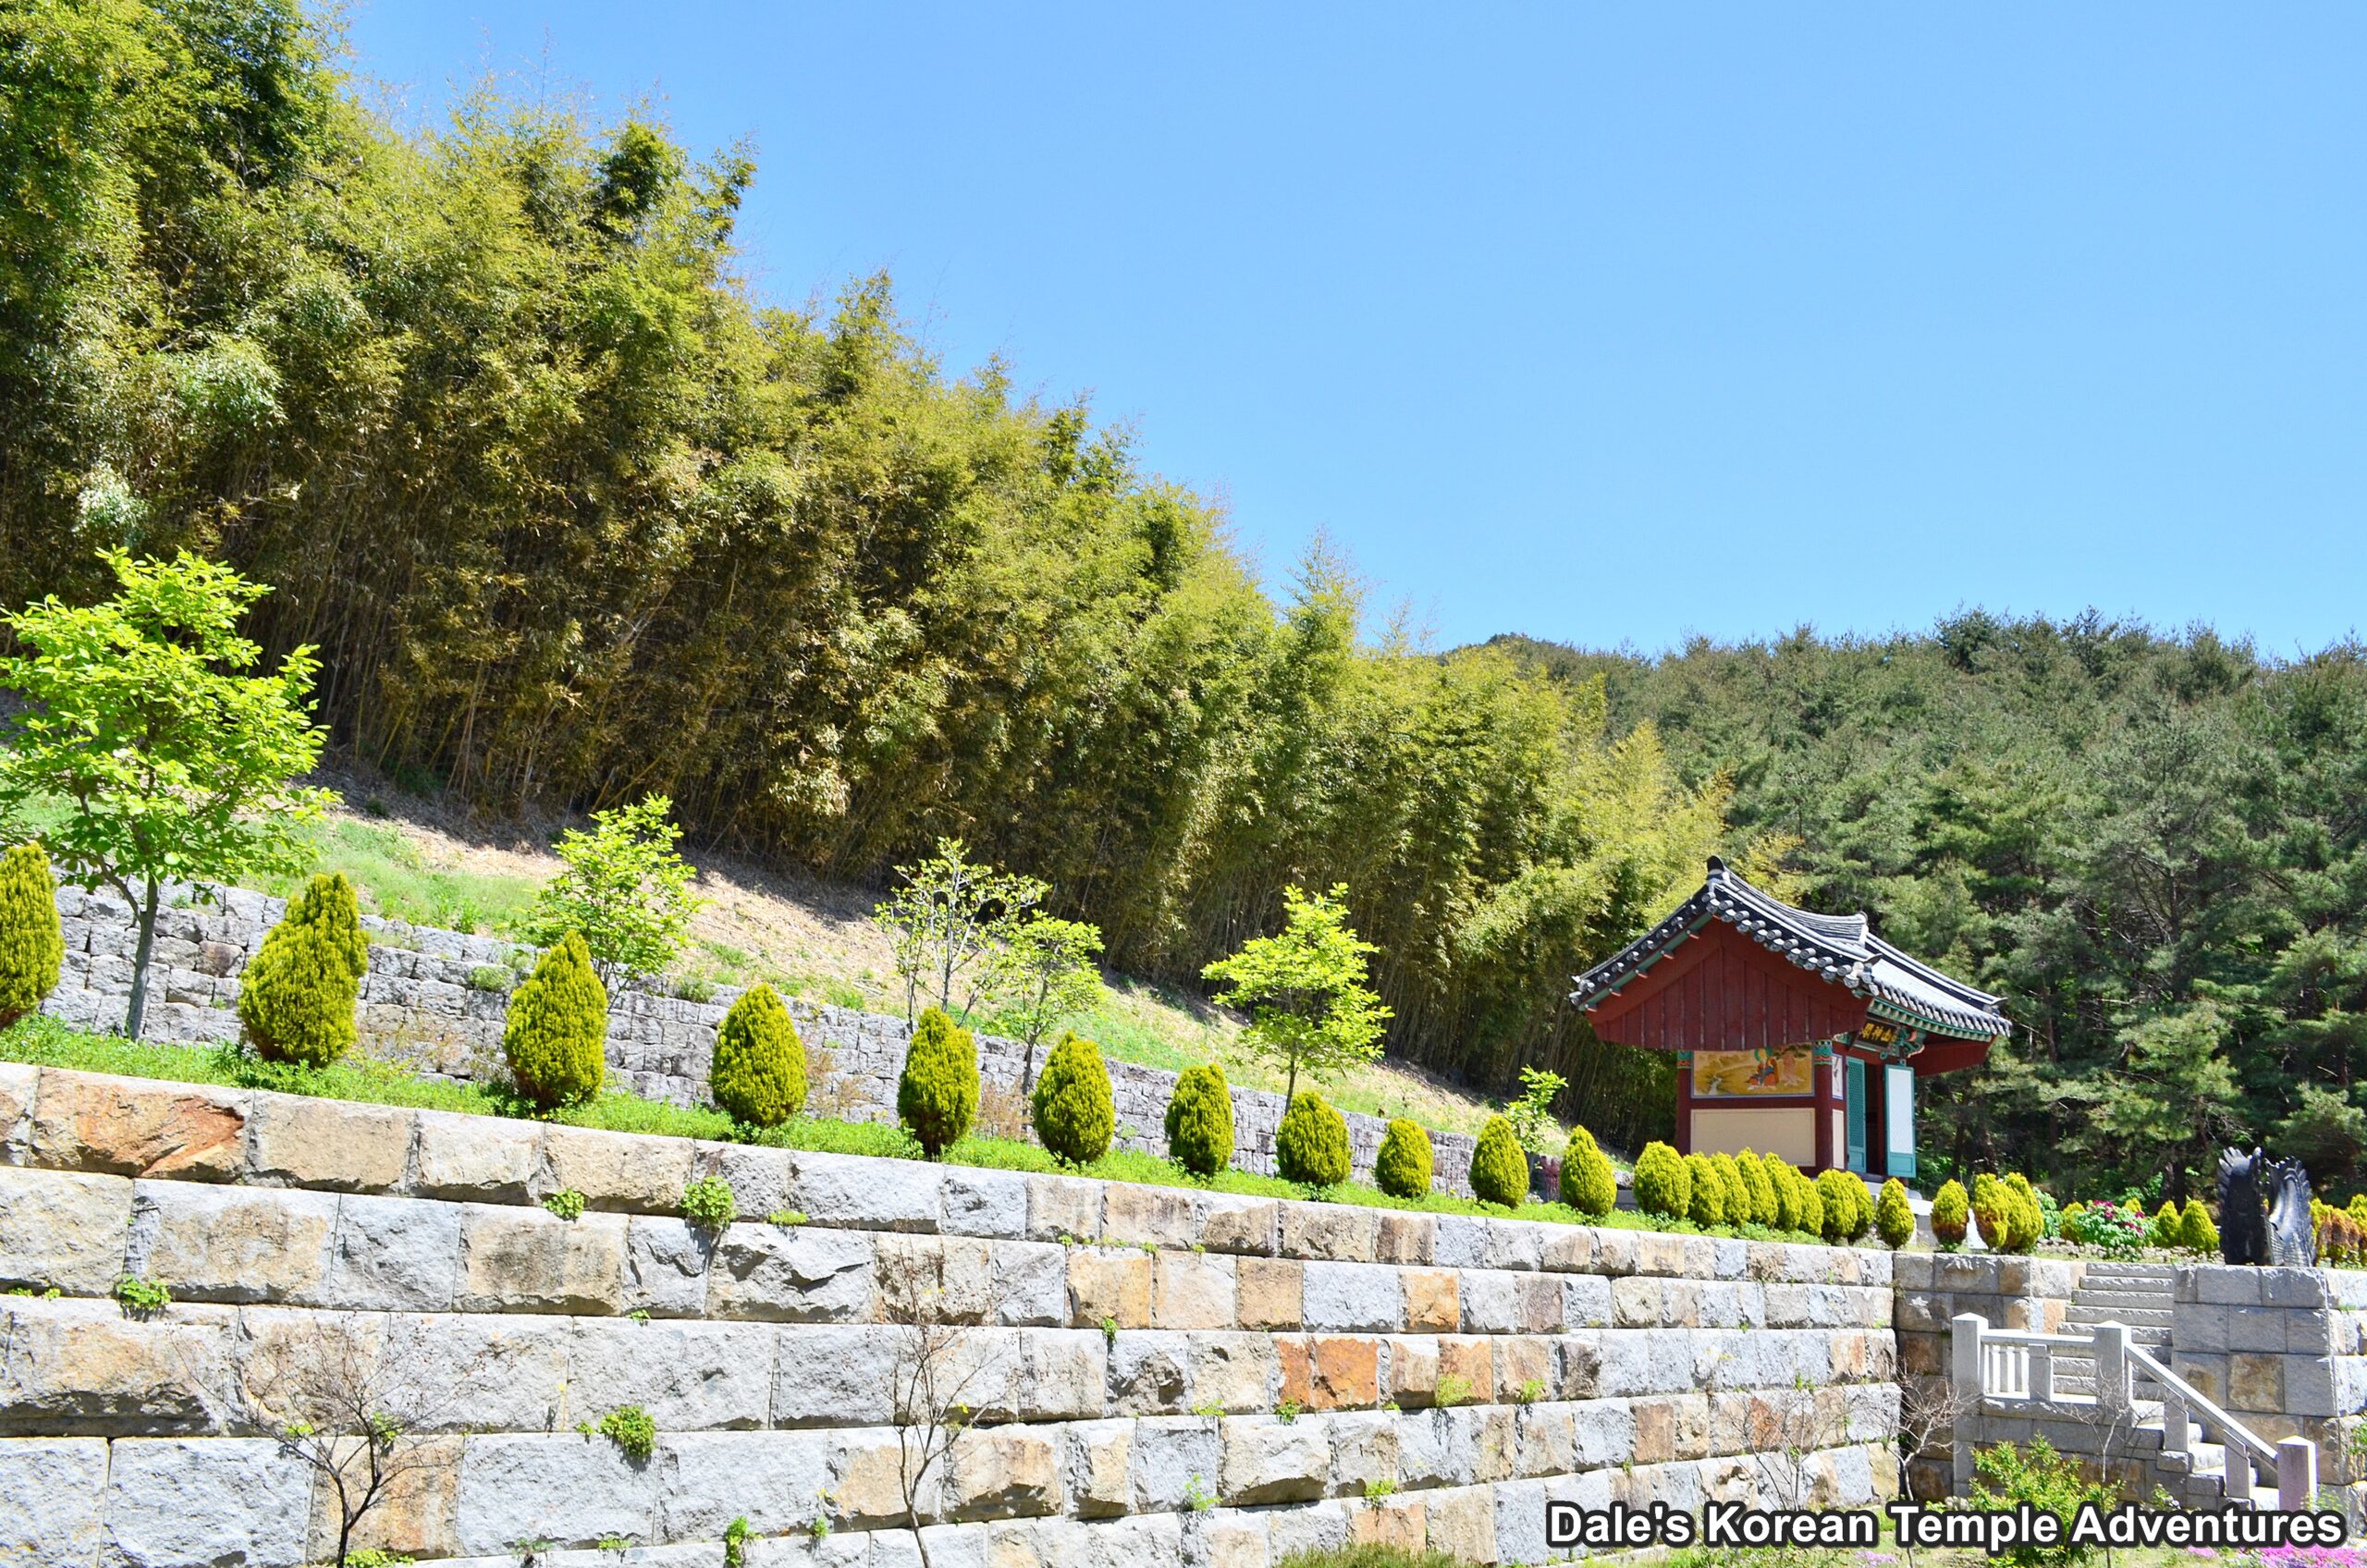
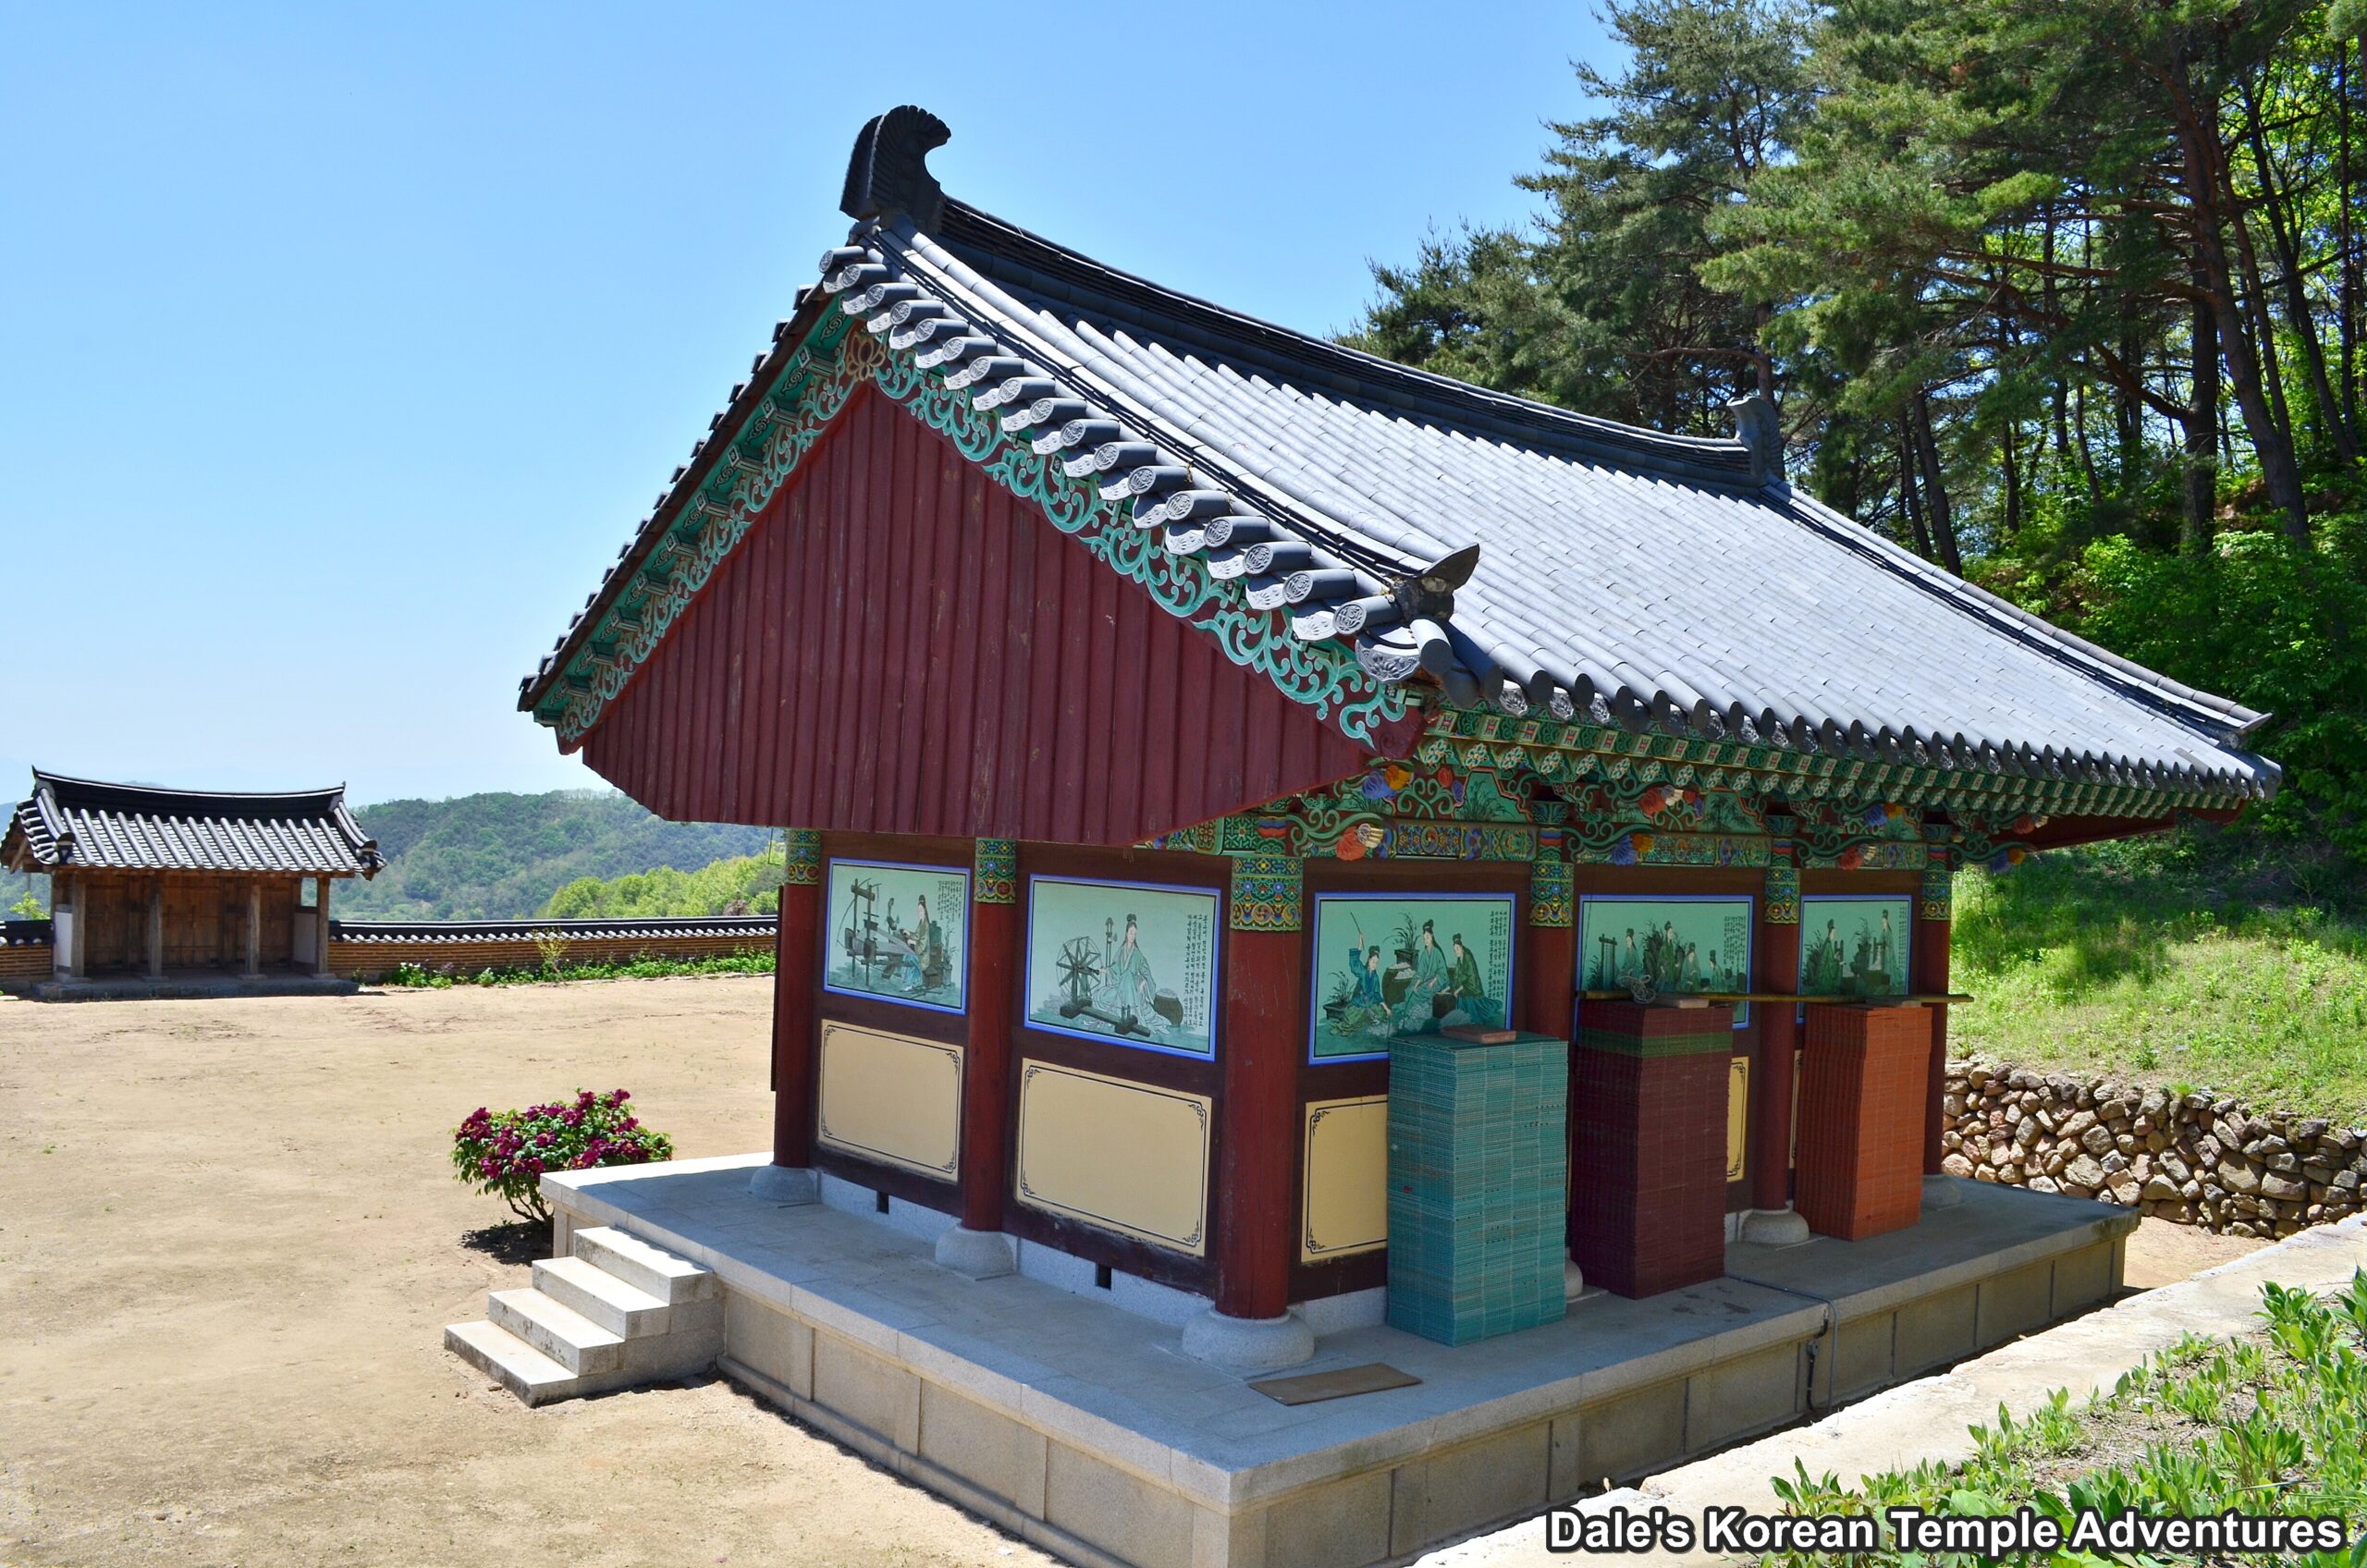
The only other building at Buinsa Temple is a shrine hall dedicated to Queen Seondeok. Unfortunately, Seondeok-gyo Hall is off-limits, and in fact locked, to visitors. However, you can still see beautiful murals that surround the hall of Queen Seondeok from a distance. This shrine hall sits to the far left, as you first approach the main temple courtyard. And it was reconstructed in the 1930’s.
How To Get There
From the Dong Daegu Intercity Bus Terminal, you’ll need to take Bus #101-1, which heads towards Pagyesa Temple. When you do arrive at Pagyesa Temple, after twenty-seven stops, you’ll need to catch Bus #Palgong 3. In total, you’ll only need to stay on this bus for two stops. The bus will drop you off across from Buinsa Temple. After being dropped off, you’ll need to walk for five to ten minutes, or 439 metres, to get to Buinsa Temple.
Overall Rating: 7.5/10
Buinsa Temple has a long rich history, which has recently be resurrected in the form of the newly built shrine halls at the temple. Of note, and something to keep an eye out for, is the Seondeok-gyo Hall, the ornate Yeongsan-jeon Hall, and the double chamber stone lantern in front of the Myeongbu-jeon Hall. And the temple grounds are beautifully framed by the imposing Mt. Palgongsan in the background.
